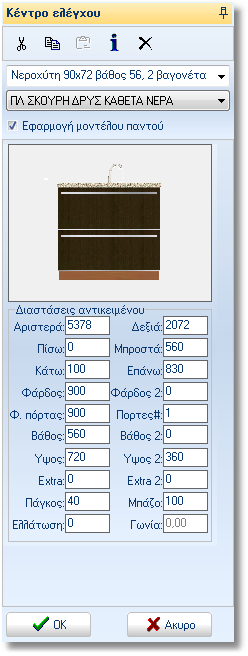
When you select a wall of floorplan, at left is showed the control
panel below.
At the top of Control Panel you see the tools below. The toolbar
is active when you place items in the floorplan, perspective and
elevation.
 |
Cut: move the item to other side. |
 |
Copy: copy the item to other side. |
 |
Paste: paste the item. |
 |
Details: you see the window items details
and you can modify the item's features. |
 |
Delete: delete the selected item. |
 |
Links - Units
When the selected item has units or links, you see in the list
all the items contents. |
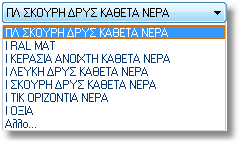 |
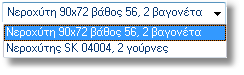
Available models
When you select more than one model, these are showed in the
list. If you choose Other ... you see the rest available models.
|
 |
Apply to selected item
You can change the basic model. Leave the cursor on the item
you want to change. You see the identification of the item at
the left side (Control Panel).
When the option Apply everywhere is active,
the item changes and the units and links.
When the option Apply everywhere is deactive,
the item changes only. The rest parts of it remain the same.
|
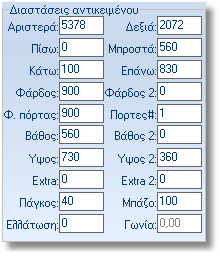 |
Item dimensions
Left: the distance of item at left side of
wall.
Right: the distance of item at right side of
wall.
Back: the distance between item and wall.
Front: the distance of items's foreground and
wall.
Down: the distance of item's base and floor.
Up: the distance of upper side's item and floor.
Width: the width of item.
Width 2: For units: the width of 2nd side.
Door width: the door width of item. Warning!
When you change the door width, you should change and the door
width.
Numder of doors: the number of doors for item.
Depth: the depth of item.
Depth 2: For blind units: the depth of item
with the filler.
Height: the height of item (without the height
of worktio or plinth)
Height 2: for items with more than one door:
is the height of last door.
Worktop: the thichness (height) of worktop
Plinth: the height of plinth
Reduction: for blind units: is the maximum
distance of wall to blind carcase.
For example, if the width of blind is 1000mm and the carcase
is 900mm, then the reduction will be 100mm.
Angle: the angle placement of item.
NOTE
The fields with extension “2”(width, depth, height, extra) are
helpful for drawing complex shapes.” |
 Video
Video
 at the right side. The window now is stable. To hide the control
panel press the button
at the right side. The window now is stable. To hide the control
panel press the button .
.