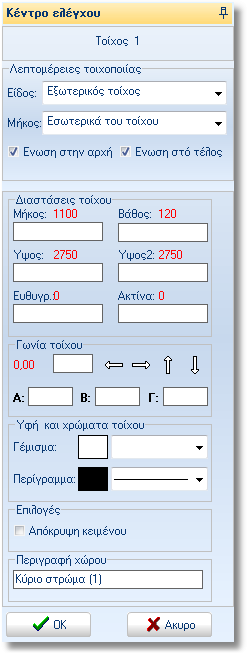
When you start to draw walls for a new floorplan, at left desktop
of 1992 is showed the control panel below.
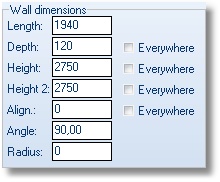 |
Wall dimension
In the fields below write the dimensions of the new wall.
Length: the length of wall in mm
Height: the height of wall in mm
Depth: the initial depth of wall in mm (the
height of the left side of the wall)
Depth2: the final depth of wall in mm (the
height of the right side of the wall)
Note:
When the fields Depth & Depth2 have the same price, the
entire wall has this height.
Use different prices to draw for example a loft.
Alignment: the height between wall and floor
Radius: the radius of wall in mm in case the
wall is curved. |
Παράδειγμα
 |
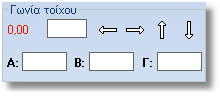
Wall angle
Here define the wall angle in case the angle is not 90.
In blank field next to “0.00” write the exact degrees of angle.
With arrows change the direction of wall.
If you do not know the exact degrees, you can calculate it.
In fields Α, Β and C write the prices in mm. In details: Field
Α and Β write the distance of angle on 1 and 2 wall. Field C
write the length that connects the other walls. Press Enter
to calculate the angle automatically.
For example, in 1 and 2 wall calculate the distance 1m from
angle. So in fields Α and Β write 1000 mm.
The length of diagonial is 1,67m. So in field C write 1670mm.
Press Enter to calculate the angle automattically: 113,23ο.
|
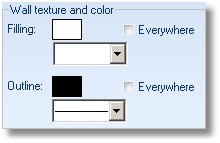 |
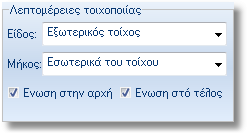
Texture and wall filing
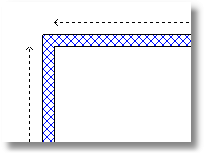
You can choose the wall filling, how to show the inner of wall
in the floorplan.
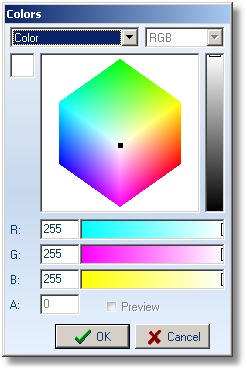
Note: The color should not be white
in order to see. Press left click on the color to select other
color.
Opening the list next to Filing to see the available options
for wall filing.
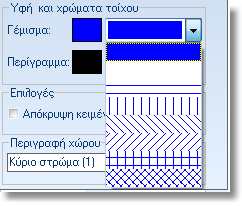
Opening the list next to Description to see the style for wall
frame.

 |
 |
Select to hide or not the text in the wall. |
 |
Here is the description of layer. |
 Video
Video
 at
the right side. The window now is stable. To hide the control
panel press the button
at
the right side. The window now is stable. To hide the control
panel press the button .
.